 My goal is to create something with an Arduino from Spark Core that posts data to a web service (server) which I have programmed using Play Framework! This went a smoothly as I had expected, because the Spark Core contains an onboard WiFi chip, and a library which simplifies the http requests. The Spark Core can connect to the Spark Servers (cloud) and store data which can in return be retrieved by any application whether it be Javascript, Python or Java. However, I want to skip all that and just post the data into the database on my web server. I quickly realized that the simplest way would be to just use HTTP GET and pass the values I wanted to post in the API URL request string. This is obviously not the most secure, but sufficient for what I need it for.
Step 1: Play Framework application
Create a simple play service which receives the parameter value and logs it to the console (for the purposes of testing).
Example from my routes:
GET /test controllers.Application.test(state: String)
And in the Application.java a method like this:
public static Result test(String state) {
        Logger.debug("State: " + state);
        return ok();
    }
Once it is running, you can test the service by calling the following from your browser:
http://localhost:9000/test?state=test
You should see the string “test” logged to your Play Framework server console.
Step 2: Arduino Code
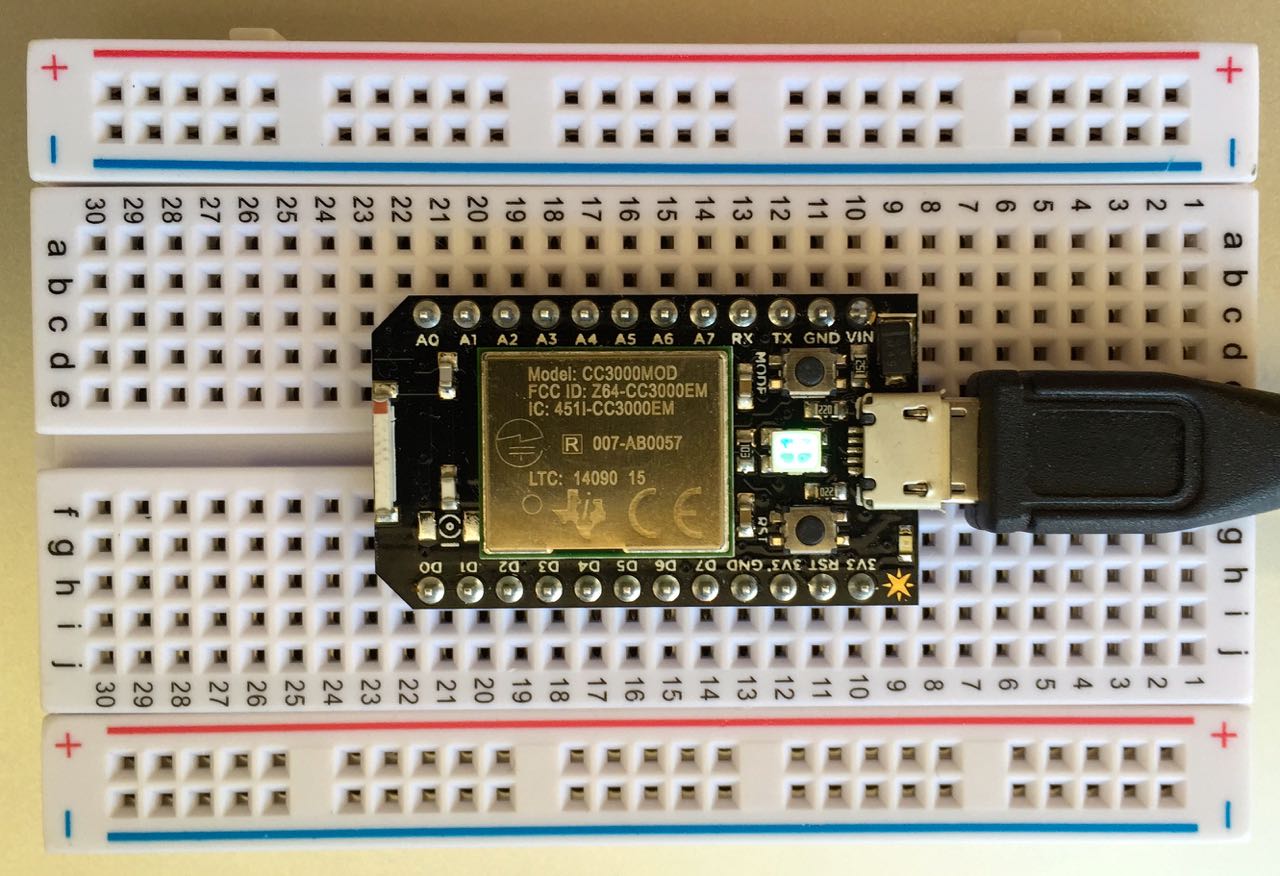
I chose to simply flash the onboard LED and post the state to the Play Framework! server as this would be the simplest requiring no additional components. After I configured and setup my Spark Core, I used the cloud IDE to flash it with the following code (Note: replace your IP in the code ):
// Define the pins we're going to call pinMode on
int led = D0;  // You'll need to wire an LED to this one to see it blink.
String sparkId = "notset";
TCPClient client;
byte server[] = { 192, 191, 1, 206 }; // Play Server IP Number
void setup() {
  pinMode(led, OUTPUT);
  // Make sure your Serial Terminal app is closed before powering your Core
  Serial.begin(9600);
  String myID = Spark.deviceID();
  post_state(myID);
}
void loop() {
  digitalWrite(led, HIGH);   // Turn ON the LED pins
  post_state("ON");
  delay(500);               // Wait for 1000mS = 1 second
  digitalWrite(led, LOW);    // Turn OFF the LED pins
  post_state("OFF");
  delay(500);               // Wait for 1 second in off mode
}

void post_state(String state) {
  Serial.print("connecting...");
  if (client.connect(server, 9000))  // IP from above, and Port 9000 for the Play Server
  {
    Serial.print("connected...");
    //URL of the Play Service defined in the routes
    client.println("GET /test?state="+state+" HTTP/1.0");
    client.println("Host: 192.191.1.206");
    client.println("Content-Length: 0");
    client.println();
    while (client.available() > 0)
    {
        char c = client.read();
        Serial.print(c);
    }
    Serial.print("disconnecting...");
    delay(100);
    Serial.println("disconnected.");
    client.stop();
  }
  else
  {
    Serial.println("connection failed");
  }
}
Step 3: go for it!
Once your Play Server is running, and you have flashed the Spark Core with the code modified to call the URL of your Play Server, you should be able to see it logging the State of the LED on the Play Framework server console like this:
[debug] application - State: ON
[debug] application - State: OFF
[debug] application - State: ON
[debug] application - State: OFF
[debug] application - State: ON
[debug] application - State: OFF
Have fun with this and let me know what you do with it!
I have posted the code on github here – the Arduino code is the the subdirectory /spark-core:
If you made it this far, you may as well follow me on LinkedIn: Follow Brian Porter