---
title: "Setting up a project with Tailwind CSS, AlpineJS, PostCSS, and Webpack"
date: 2023-04-06T00:00:00+00:00
author: "poornerd"
tags: ["tailwindcss", "webpack", "postcss", "github", "css", "alpinejs"]
canonical: https://www.poornerd.com/2023/04/06/tailwindcss-alpinejs-postcss-webpack-project-setup.html
source: Raw Markdown twin of the HTML article; content is the original source.
---
This blog post provides a step-by-step guide on how to set up a development environment using Webpack, Tailwind CSS, and Alpine.js. The tutorial covers the initial project setup with npm, adding Tailwind CSS and configuring it, integrating Alpine.js for interactivity, and running and building the app using Webpack.
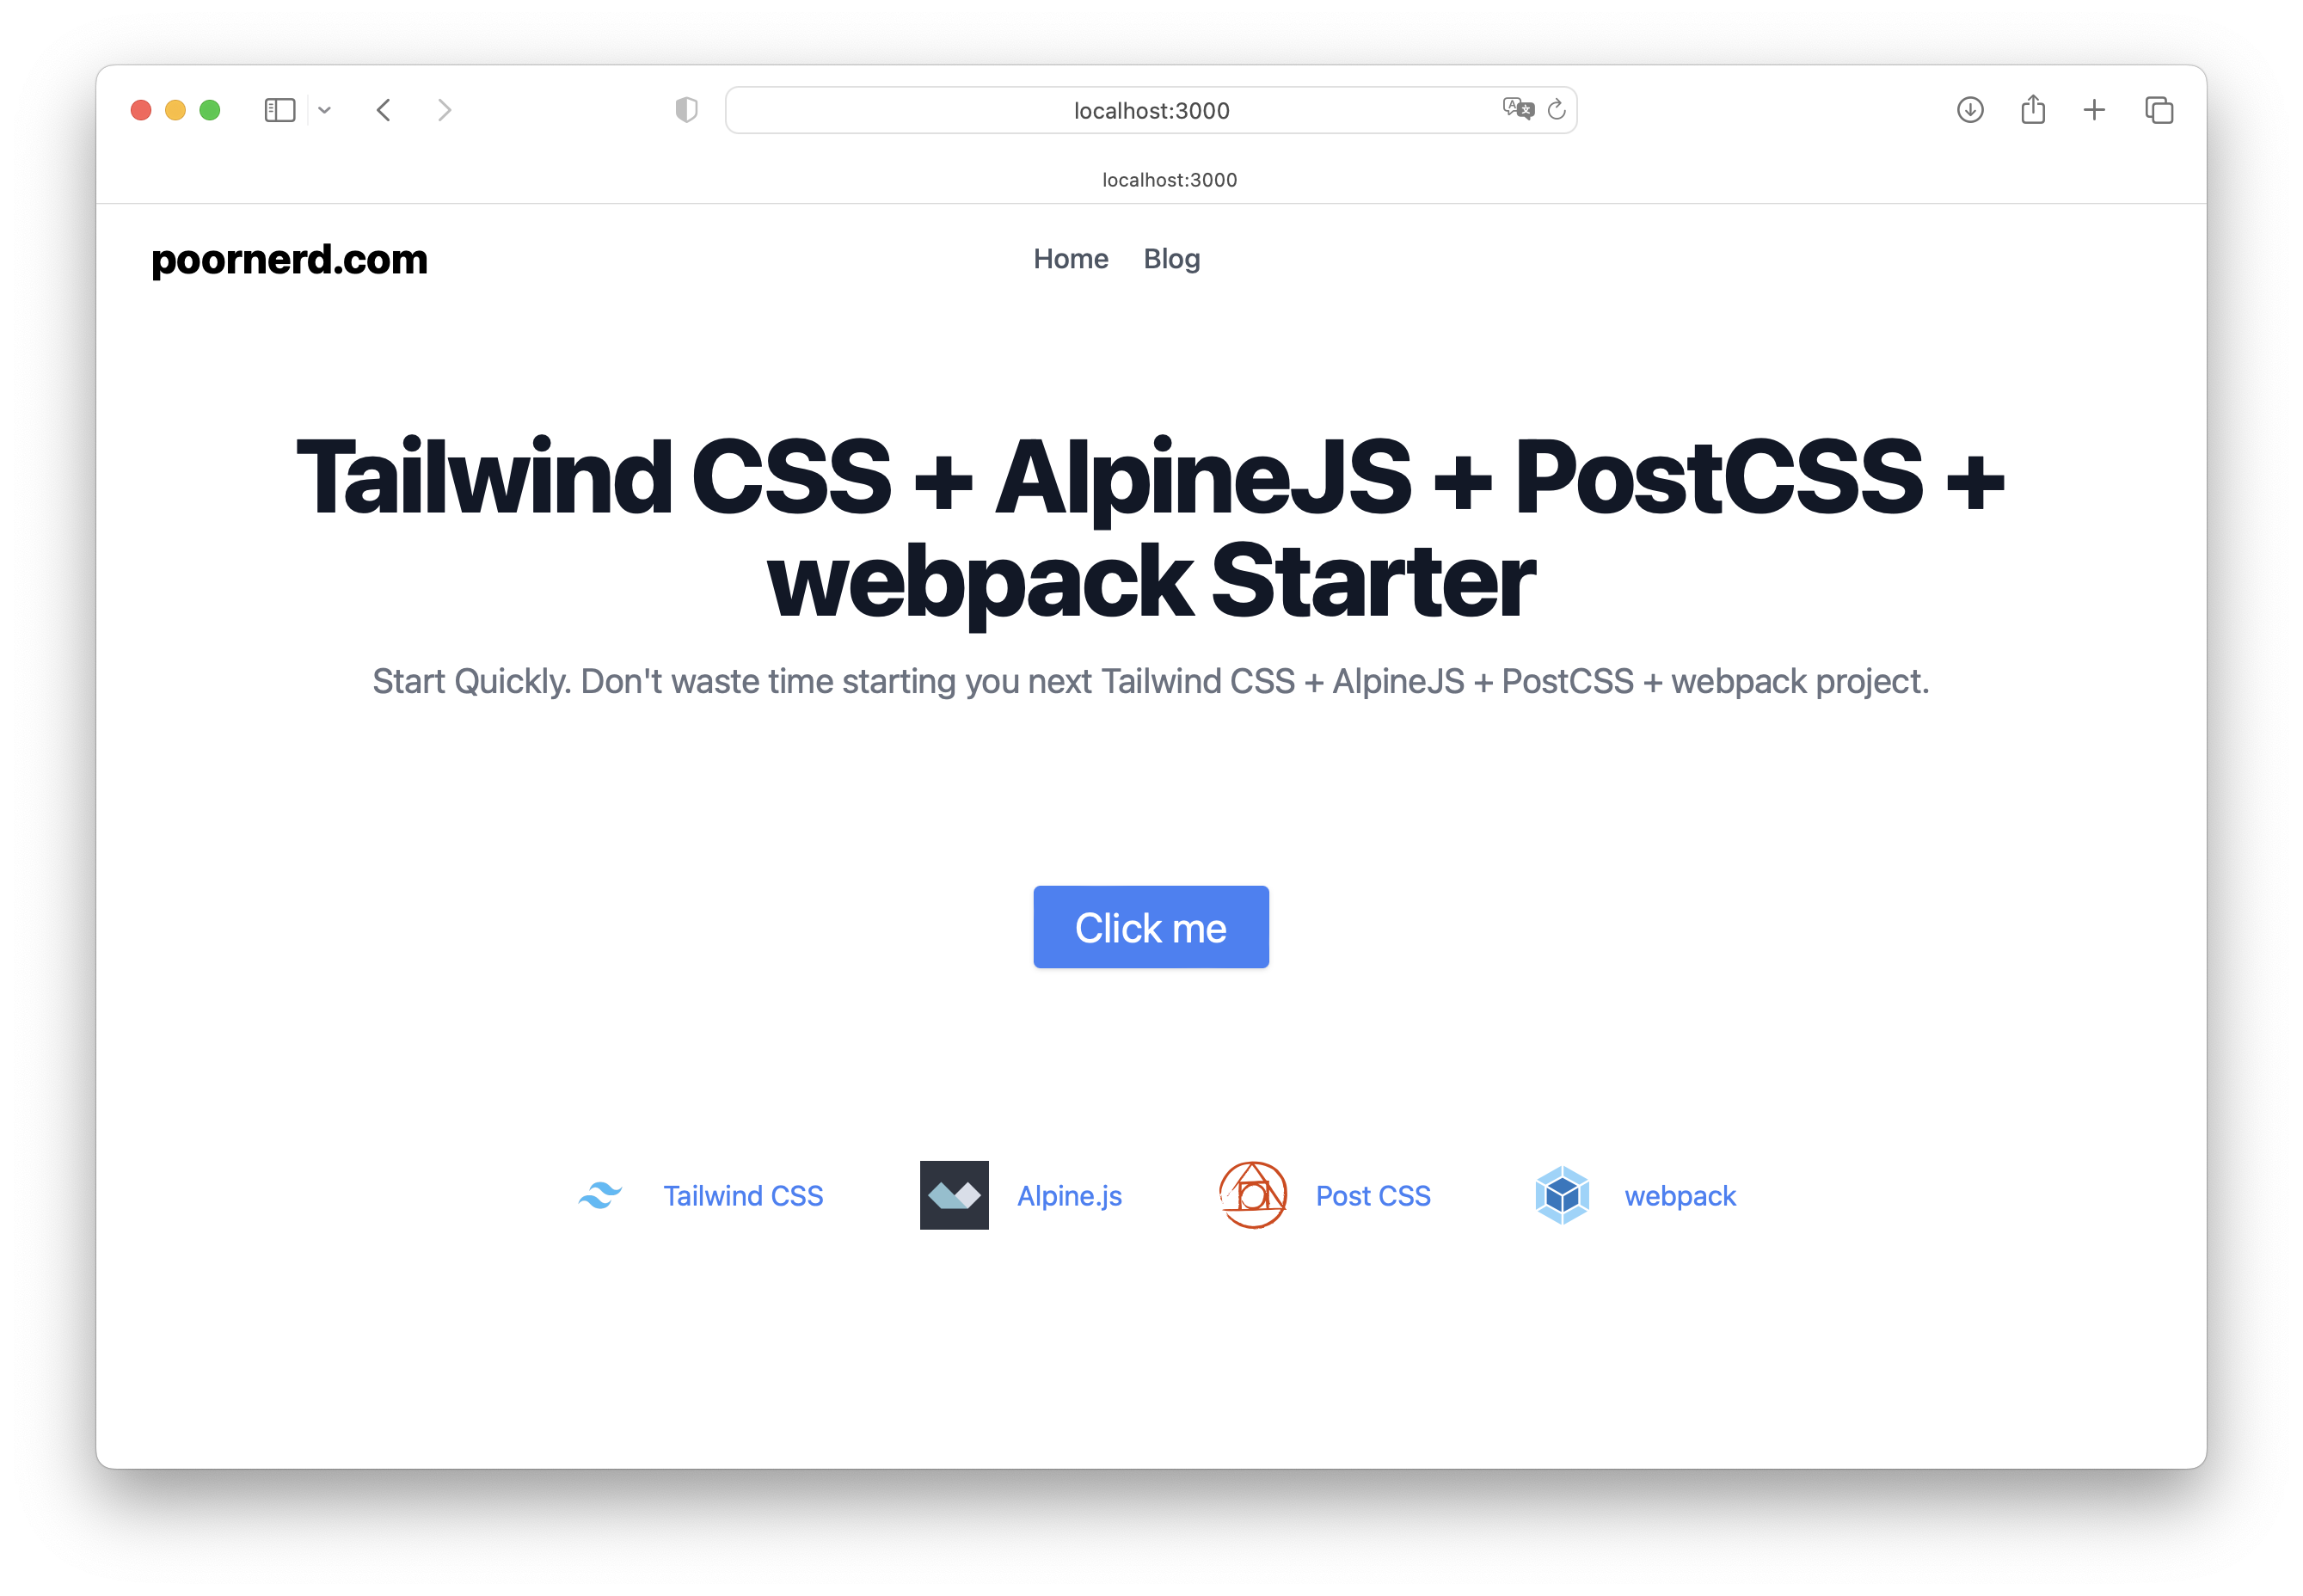{:class="img-fluid w-90"}
## First initialize the project with npm
Open your terminal, create a project directory, and cd into the new directory. Then initialize the project with ```npm``` by executing the following script:
```
npm init -y
npm install webpack webpack-cli webpack-dev-server postcss-loader css-loader html-webpack-plugin style-loader copy-webpack-plugin --save-dev
```
Next create some basic files to work with:
```
touch webpack.config.js
touch postcss.config.js
mkdir dist
mkdir src
touch src/index.html
touch src/index.js
touch src/style.css
```
Then open the ```webpack.config.js``` and copy the following content:
```
const path = require('path');
const HtmlWebpackPlugin = require('html-webpack-plugin');
const CopyWebpackPlugin = require('copy-webpack-plugin');
module.exports = {
mode: 'development',
entry: {
bundle: path.resolve(__dirname, 'src/index.js'),
},
output: {
path: path.resolve(__dirname, 'dist'),
filename: 'bundle.js',
clean: true,
assetModuleFilename: '[name][ext]',
},
module: {
rules: [
{
test: /\.css$/i,
use: ['style-loader', 'css-loader', 'postcss-loader'],
},
],
},
plugins: [
new HtmlWebpackPlugin({
template: 'src/index.html'
}),
new CopyWebpackPlugin({
patterns: [
{
from: path.resolve(__dirname, 'src', '**', '*.{jpg,png,svg,ico,webmanifest}'),
to({ context, absoluteFilename }) {
const relativePath = path.relative(path.join(context, 'src'), absoluteFilename);
return path.join(context, 'dist', relativePath);
},
context: __dirname,
globOptions: {
dot: false,
ignore: ['**/node_modules/**'],
},
},
],
}),
],
devServer: {
static: {
directory: path.resolve(__dirname, 'dist'),
},
port: 3000,
open: true,
hot: true,
compress: true,
historyApiFallback: true,
}
};
```
## Add Tailwind CSS to the project
Install Tailwind CSS
```
npm install -D tailwindcss postcss autoprefixer
npx tailwindcss init
```
Next add Tailwind CSS to your ```postcss.config.js``` file
```
module.exports = {
plugins: {
tailwindcss: {},
autoprefixer: {},
}
}
```
Configure your template paths in the tailwind.config.css
```
/** @type {import('tailwindcss').Config} */
module.exports = {
content: ['./src/**/*.{html,js}'],
theme: {
extend: {},
},
plugins: [],
}
```
Next add Tailwind CSS directives to your ```style.css```
```
@tailwind base;
@tailwind components;
@tailwind utilities;
```
and include the css in the ```ìndex.js```
```
import './style.css';
```
Now create an initial HTML page and include the css
```
Initial Webpack with Tailwind CSS
```
## Finally add AlipineJS
Add the framework to the project:
```
npm i alpinejs --save-dev
```
Then you add AlpineJS to the ```ìndex.js```
```
import Alpine from 'alpinejs';
window.Alpine = Alpine;
Alpine.start();
````
## Run and build your app
First add scripts for this to your package.json:
```
"scripts": {
"dev": "webpack serve",
"build": "webpack"
},
```
Then you can build once and create your ```dist/bundle.js```
```
npm run build
```
In order to run your local development server with webpack
```
num run dev
```
## Conclusion
In conclusion, this blog post offers a comprehensive guide on setting up a modern and efficient development environment using Webpack, Tailwind CSS, and Alpine.js. By following these steps, you will be able to create a streamlined and modular development process that takes advantage of the powerful features offered by these tools. As a result, you'll be well-equipped to create scalable and maintainable web applications that are both visually appealing and highly interactive.
To help you get started, I've created a starter project on GitHub that includes all the necessary configuration files and dependencies to start building web applications with Tailwind CSS, AlpineJS, PostCSS, and Webpack. You can find the starter project here:
[https://github.com/poornerd/tailwindcss-alpinejs-postcss-webpack-starter](https://github.com/poornerd/tailwindcss-alpinejs-postcss-webpack-starter){:target="_blank"}